Getting Started
In this section, we will do the following steps:
- Register an account to kandbox dispatch platform.
- Create a new worker in the default team created.
- Create two new jobs to be planned in a batch.
- Run a batch optimization to plan the two jobs.
- Create the third job as "Automatic Planning" and it will be assigned to the right worker in real time.
Note: If you experience any troubles, please try to open a ticket at [gitee].
Note: This guide is to illustrate main concepts and how they work together in the UI. To run optimization in real life project, follow the scenario guide to integrate by APIs. API is preferred over UI.
Steps
1. Register an account to kandbox dispatch platform
Follow those steps to register an account:
- First, please click and open website [kandbox dispatch].
- Click "Log in" on the top/right.
- Click "Register" button in the login page.
In the Register page, please fill in the following information:
- Username must be a valid email address. Please be cautious that the username can not be modified later on.
- Password must be at least 8 characters long and must include at least one alphabet and one number.
- Orgnization code to uniquely identify your organization.
Click "Submit" once you have reviewed all the information. If everything is OK, the platform should automatically log in as the registered account. After you log into kandbox dispatch system, you should see the list of teams. There should be one team named "default_team". You can review team information by clicking the "Pen" icon, as in the center of below screenshot.
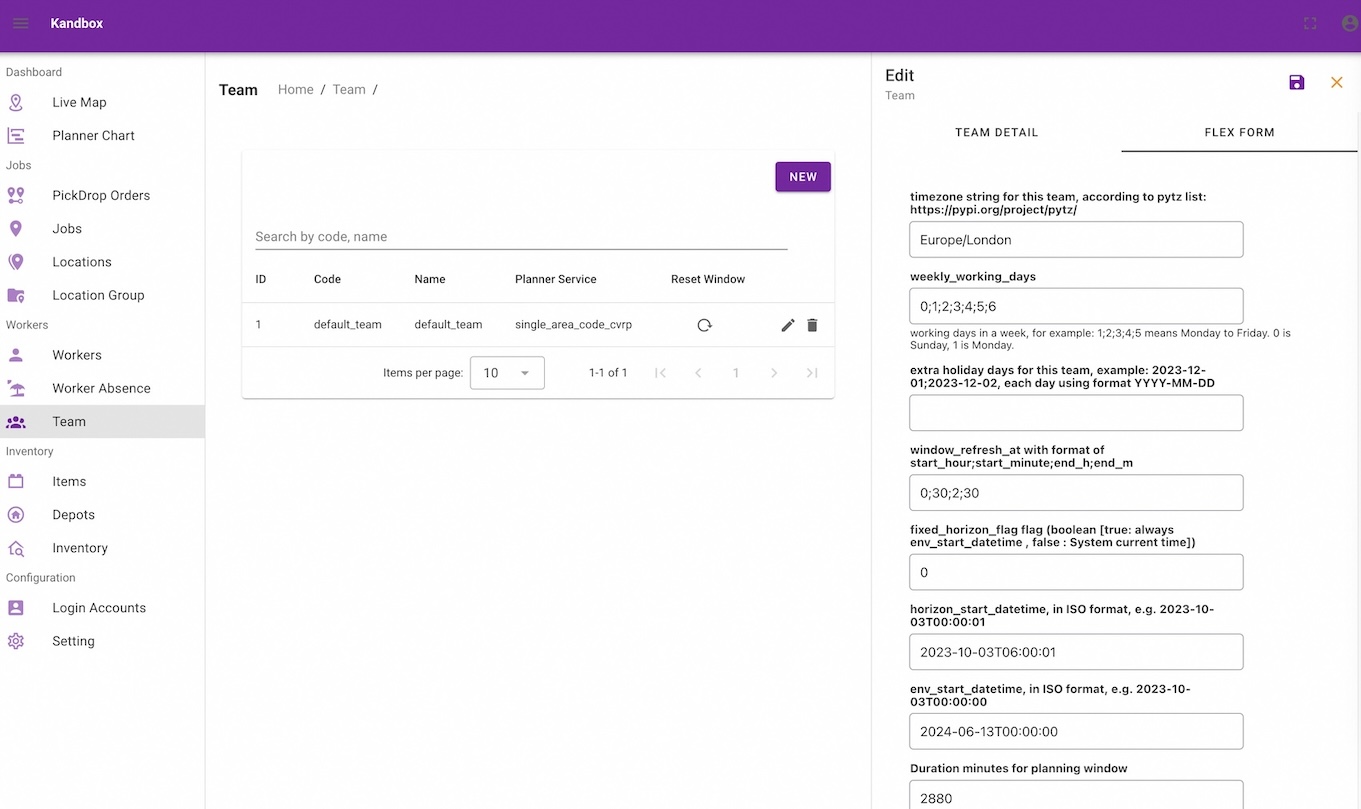
This account is the OWNER of this organization.
2. Create a new worker in the default team created.
From the left navigation panel, click "Workers" menu. Currently there are no workers. Click "New" to create your first worker.
In this guide, we simply give the work a code, for example "worker1". Please keep other information as default in this guide. Click "BUSINESS HOUR" to review and modify the working schedule if you are currently testing the platform out of normal working hour. For example, if you are testing the system at UK London time 21:00pm, Wednesday, please modify working hour for Wednesday to 0100 to 2400.
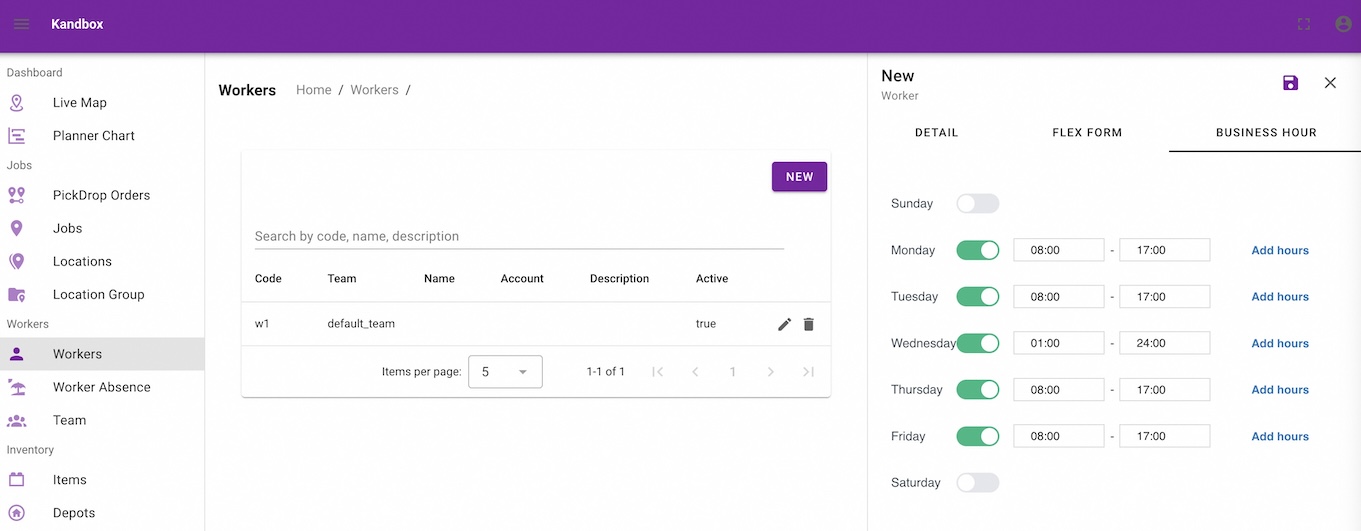
Finally click "Save" icon on top/right to save the worker.
Now you can review the current worker shift chart by clicking the "Planner Chart" on the left navigation panel. In the chart, make sure that you have at least one horizontal bar for "worker1". This represents that worker1 has an active working slot to accept jobs.
If the chart does not load automatically, you can click "LOAD DATA" to refresh the chart.

3. Create two new jobs
Click the "Jobs" from left navigation panel and click "New" in the jobs list page. In the job page, you need to fill in at least three mandatory informatioin:
- Job code, use "j1" "job2" or any other alphanumeric code you prefer.
- Longitude
- Latitude The last two determines where the job should happen. If no team is chosen, choose "default_team".
In this step, leave "Plan Automatically" as unchecked, i.g. Manual.
Repeat those steps to create the second job. Finally, in the jobs table, you can see two jobs with "Planning Status" of "U". Here "U" means "Unplanned".
4. Run Batch Optimizer
Now go back to the "Planner Chart", and refresh the chart by clicking "Load Data". Then the two new jobs should appear in the bottom table of unplanned jobs. If not, likely there are something wrong with planning window setting.
Click on "Run Batch" on the top of the chart. After a successful planning, the chart should refresh automatically. Then you show see that the two jobs in the unplanned table should have disappeared and there are jobs in the gantt chart.
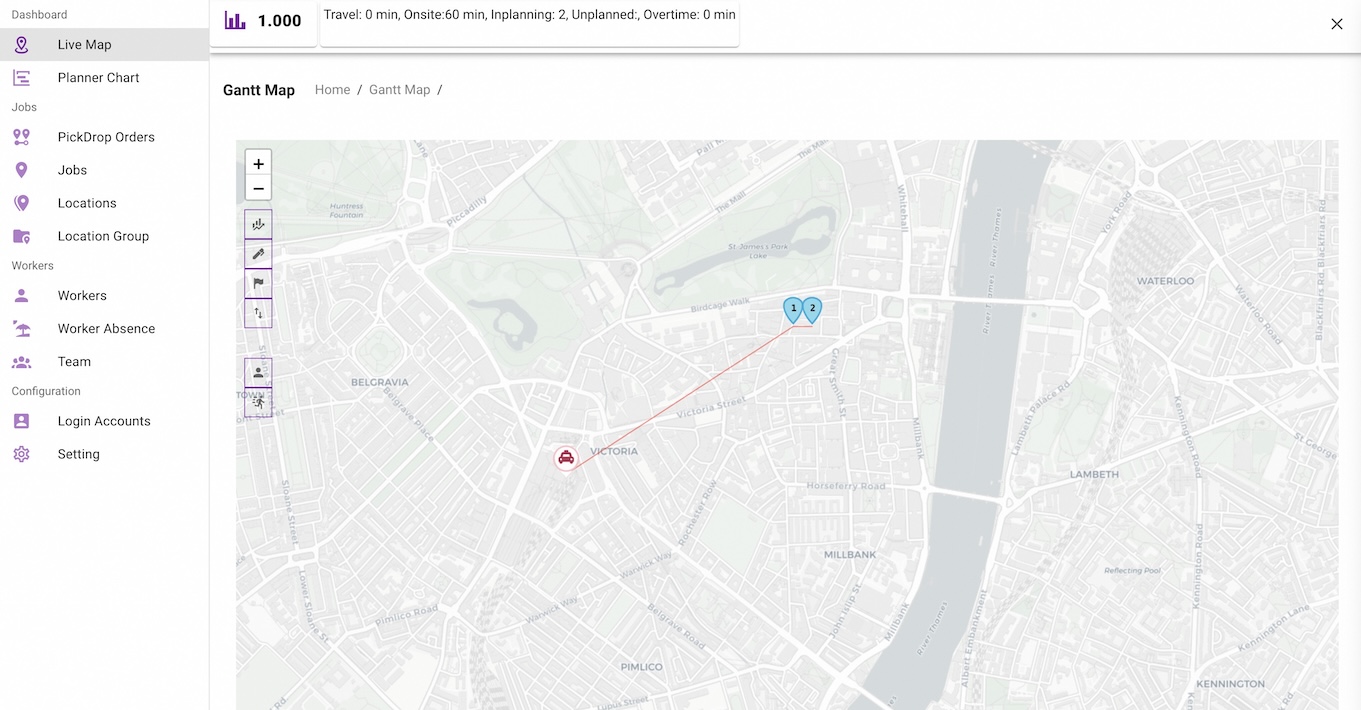
Now click on "Live Map" on the left navigation menu. You should see a map of central London with one worker and two jobs. Click on the Worker, you can see a sequence of job on the map.
5. Create the third job as "Automatic Planning"
Now go back to the jobs page. Create the third job and click on the checkbox of "Manual" and switch it to "Auto". Then Click "Save".
The job is now saved and from jobs table, you can see the job status as "I".
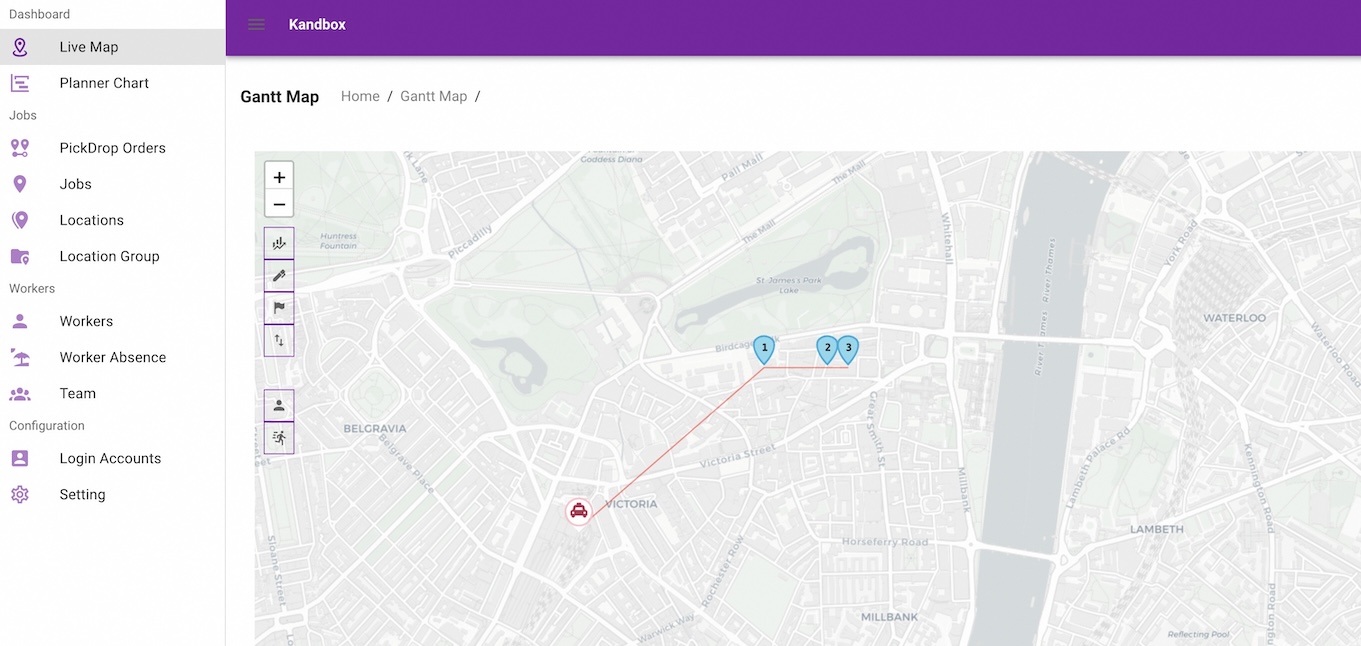
Now click on "Live Map" again on the left navigation menu. You should see a map of central London with one worker and three jobs. Click on the Worker, you can see the updated sequence of jobs with the new third job.
What's Next?
Once you have finished this guide, you should understand the concepts of Kandbox dispatch. You can integrate Kandbox Dispatch platform with your Order Management System (OMS), Transport Mgmt System (TMS), etc by API following the guide in Simple Scenario.